Smartphones have become an essential part of our daily lives. One of the most useful features of a smartphone is the ability to customize it according to our preferences. Ringtones are a simple but powerful way to personalize your phone. Instead of using the same ringtone for every incoming call, you can set unique ringtones for different contacts. This way, you will know who is calling you even before looking at your phone.
The Google Phone app, which is the default dialer on most Android devices, provides an easy option to assign custom ringtones for each contact. In this article, we will explain step by step how you can set different ringtones for different contacts using the Google Phone app. We will also look at the benefits, tips, and solutions for common problems.
—
Why Set Custom Ringtones for Contacts?
Before Learning The Steps, Let’s Understand Why This Feature Is Useful:
1. Instant Caller Recognition – You can know who is calling without checking the screen. For example, you can set a special ringtone for your parents, partner, or boss.
2. Time-Saving – If you are busy, you can decide whether to answer the call based on the ringtone.
3. Fun and Personalization – It makes your phone feel more unique and enjoyable.
4. Priority Calls – You can set louder or more noticeable ringtones for important people, and softer tones for casual contacts.
—
Step-by-Step Guide to Set Different Ringtones in Google Phone App
Here is the simple process to assign a different ringtone to each contact:
Step 1: Open the Google Phone App
On your Android device, locate the Phone app with the blue icon (Google’s default dialer).
Tap on it to open.
Step 2: Go to Contacts
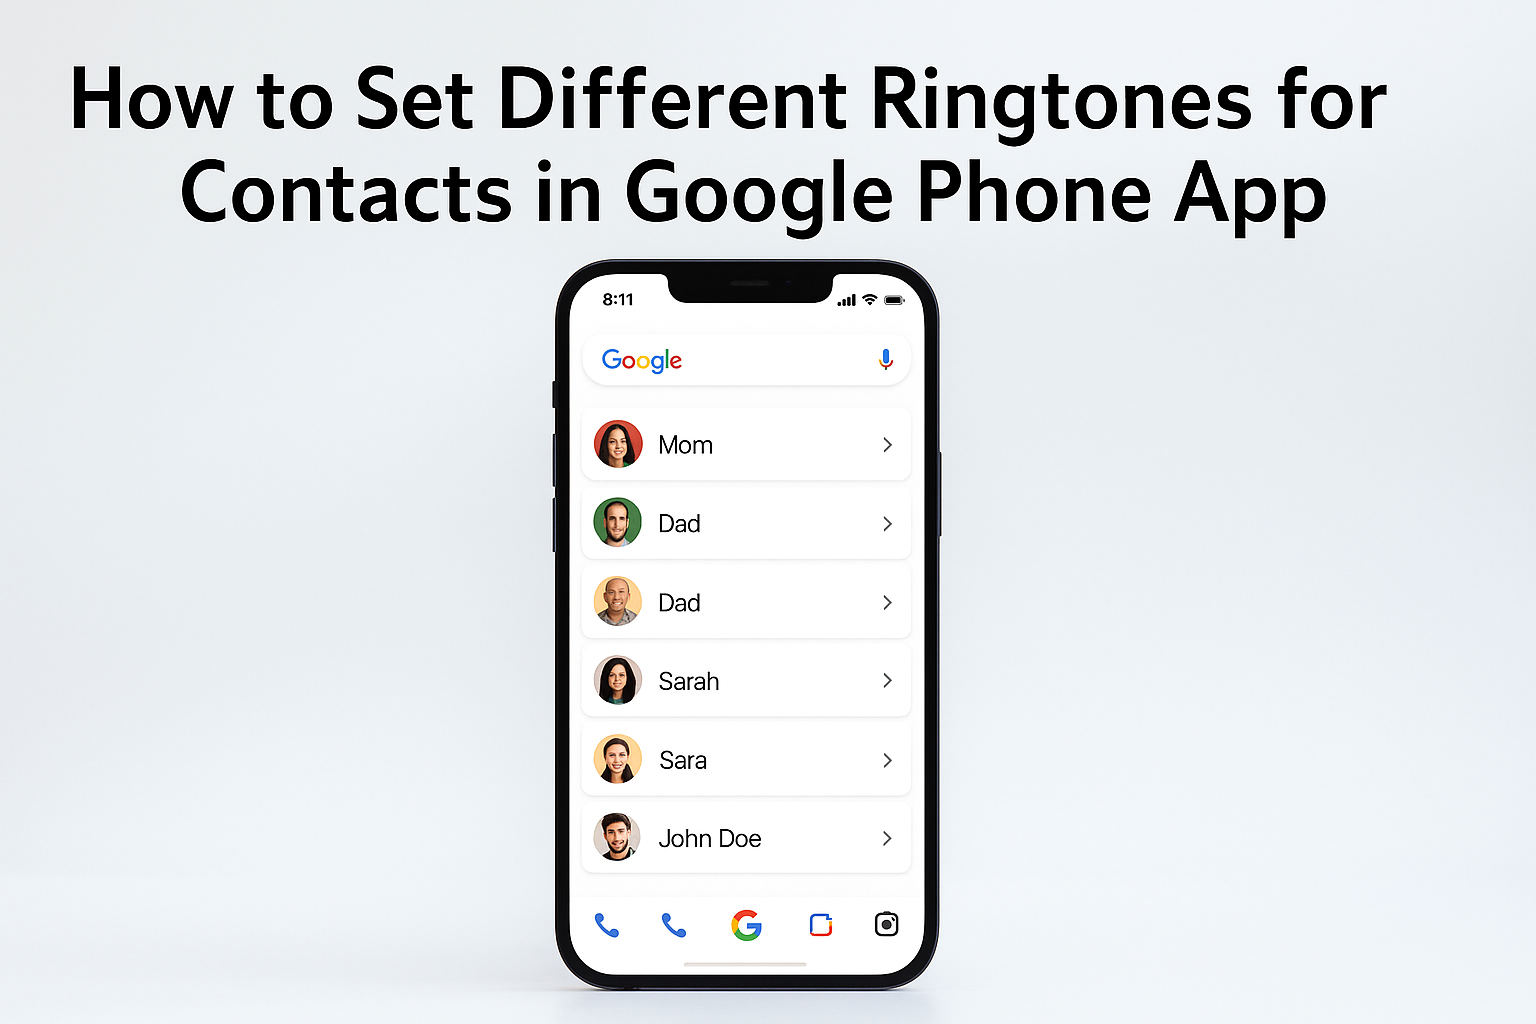
Inside the Phone app, tap on the Contacts tab at the bottom.
You will see the list of all your saved contacts.
Step 3: Select the Contact
Scroll through the list and choose the contact for whom you want to set a custom ringtone.
Tap on the contact’s name to open their details.
Step 4: Open the Edit Option
In the top-right corner, tap on the three dots (⋮) menu or the Edit contact option.
Depending on your phone model, the option may slightly vary.
Step 5: Choose “Set Ringtone”
Once in the edit menu, look for the option called “Set ringtone” or “Ringtone”.
Tap on it.
Step 6: Select a Ringtone
A list of available ringtones will appear.
You can listen to each by tapping on it.
Choose the ringtone you want for that contact.
Step 7: Save the Settings
After selecting the ringtone, tap on Save or OK.
Now, whenever this person calls you, your phone will play the custom ringtone you assigned.
—
Example
Imagine you want to set a special ringtone for your best friend, so you instantly know when they are calling. You can select a fun music tune for them. For your parents, you can choose a calm and respectful ringtone. For office calls, you can set a professional tone. This way, your phone helps you recognize important calls easily.
—
Additional Tips
1. Use MP3 Songs as Ringtones – If you don’t like the default tones, you can add your favorite songs as ringtones. Simply download an MP3 file and move it to your Ringtones folder. Then it will appear in the list of options.
2. Assign Ringtones for Groups – Some phones allow you to set ringtones for entire contact groups, such as “Family” or “Work.”
3. Volume Control – Make sure the ringtone volume is set properly so you don’t miss important calls.
4. Unique for Important People – Use highly recognizable ringtones for VIP contacts like your boss, family, or close friends.
—
Common Problems and Solutions
Even though the process is simple, sometimes users face issues. Here are some common problems and their solutions:
Problem 1: “Set Ringtone” Option Not Visible
Solution: Some devices may hide the option under the “Edit contact” screen. If you can’t find it, make sure your contacts are saved in your phone’s storage and not only in Google account. Move the contact to the phone memory if needed.
Problem 2: Custom Ringtone Not Playing
Solution: Ensure the ringtone file is not deleted from your phone. If you set an MP3 file and later delete it, the phone will return to the default ringtone.
Problem 3: Low Volume or Silent Mode
Solution: Check your sound settings. Increase the ringtone volume and make sure the phone is not in Silent or Do Not Disturb mode.
Problem 4: Contact Sync Issue
Solution: If you have multiple Google accounts, make sure you are editing the correct contact. Sometimes contacts saved in SIM or Google account may behave differently.
—
Advantages of Using the Google Phone App for Ringtones
User-Friendly – The steps are simple and easy to follow.
Organized – Helps you stay organized by recognizing calls instantly.
Customizable – You can choose from built-in tones or add your own.
Free Feature – No need for third-party apps, as the Google Phone app already provides this option.
—
Safety and Privacy Notes
Make sure you download ringtones or MP3 files from safe sources.
Avoid using copyrighted music without permission if you plan to share or distribute ringtones.
If you reset your phone, you may need to set custom ringtones again.
—
Final Thoughts
Customizing ringtones for each contact in the Google Phone app is a simple but effective way to make your smartphone experience better. With just a few steps, you can instantly know who is calling you without looking at the screen. It saves time, adds fun, and makes your phone truly yours.
Whether you want a special song for your best friend, a professional tone for your boss, or a gentle tune for your family, the Google Phone app makes it possible. Spend a few minutes setting it up, and you will enjoy the benefits every day.
So go ahead and try setting unique ringtones for your contacts today! 🎶📱
—
